
Creating an Advertising Campaign
1. Choose the format
In the dashboard open My Campaigns and click New campaign. Pick one of the formats — Telegram Mini Apps, Telegram Bot Message, iMe Messenger, Popunder, Push In-Page or Push Notifications. Each card shows the minimum bid; the full comparison is in Formats, pricing and minimum bids.
2. General settings

- Campaign name — visible only to you.
- Target URL — where the ad leads: your landing page, tracker link, Telegram bot, mini app or channel. Add the
[CLICK_ID]macro if you track conversions, e.g.https://yourwebsite.com/landing?click_id=[CLICK_ID]. - Bidding — Fixed bid (CPM or CPC, depending on the format) or Auto CPA with a target cost per conversion. Auto CPA becomes available once conversion tracking works; see Auto CPA and CPA pricing.
- Daily budget — at least $10.
- Pacing — spend as fast as possible, or spread evenly through the day.
- End date — optional, in UTC.
3. Creatives
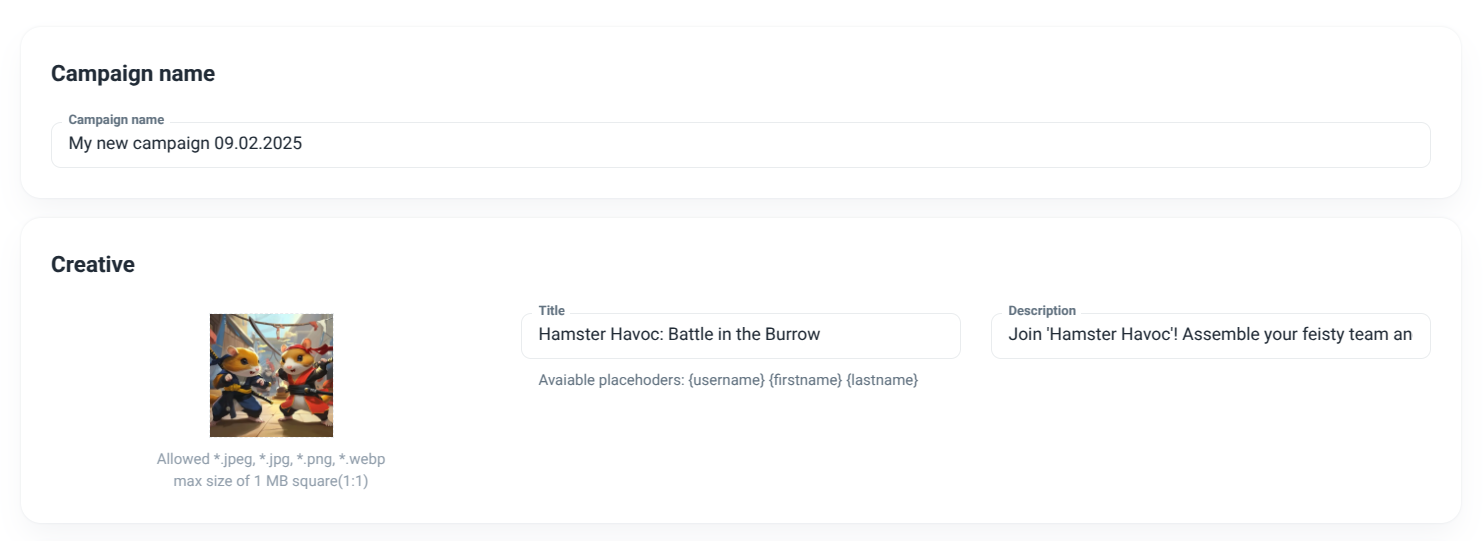
Formats that show an ad (Telegram Mini Apps, Telegram Bot, iMe, In-Page Push and Web Push) need a title, a description and an image or icon; some also take button text. You can add several creative variants to one campaign and turn each of them on or off. Popunder has no creative: the visitor sees your landing page itself.
4. Targeting

Choose countries, regions, languages, devices and other options. What is available depends on the format — see Targeting. Frequency caps and the schedule are set in their own sections of the form.
5. Save and pass moderation
Save the campaign. It goes to moderation automatically — usually 2–10 minutes — and can run once it is approved and your balance is above zero.
Tips
- Start with a few broad countries and narrow down using the Analytics breakdowns.
- Set up conversion tracking before launch, so the first traffic is already measured.
- Test two or three creatives at once and turn off the weaker ones.